
Artist’s Rule!
“I feel there is nothing more artistic than loving people.” - Vincent Van Gogh
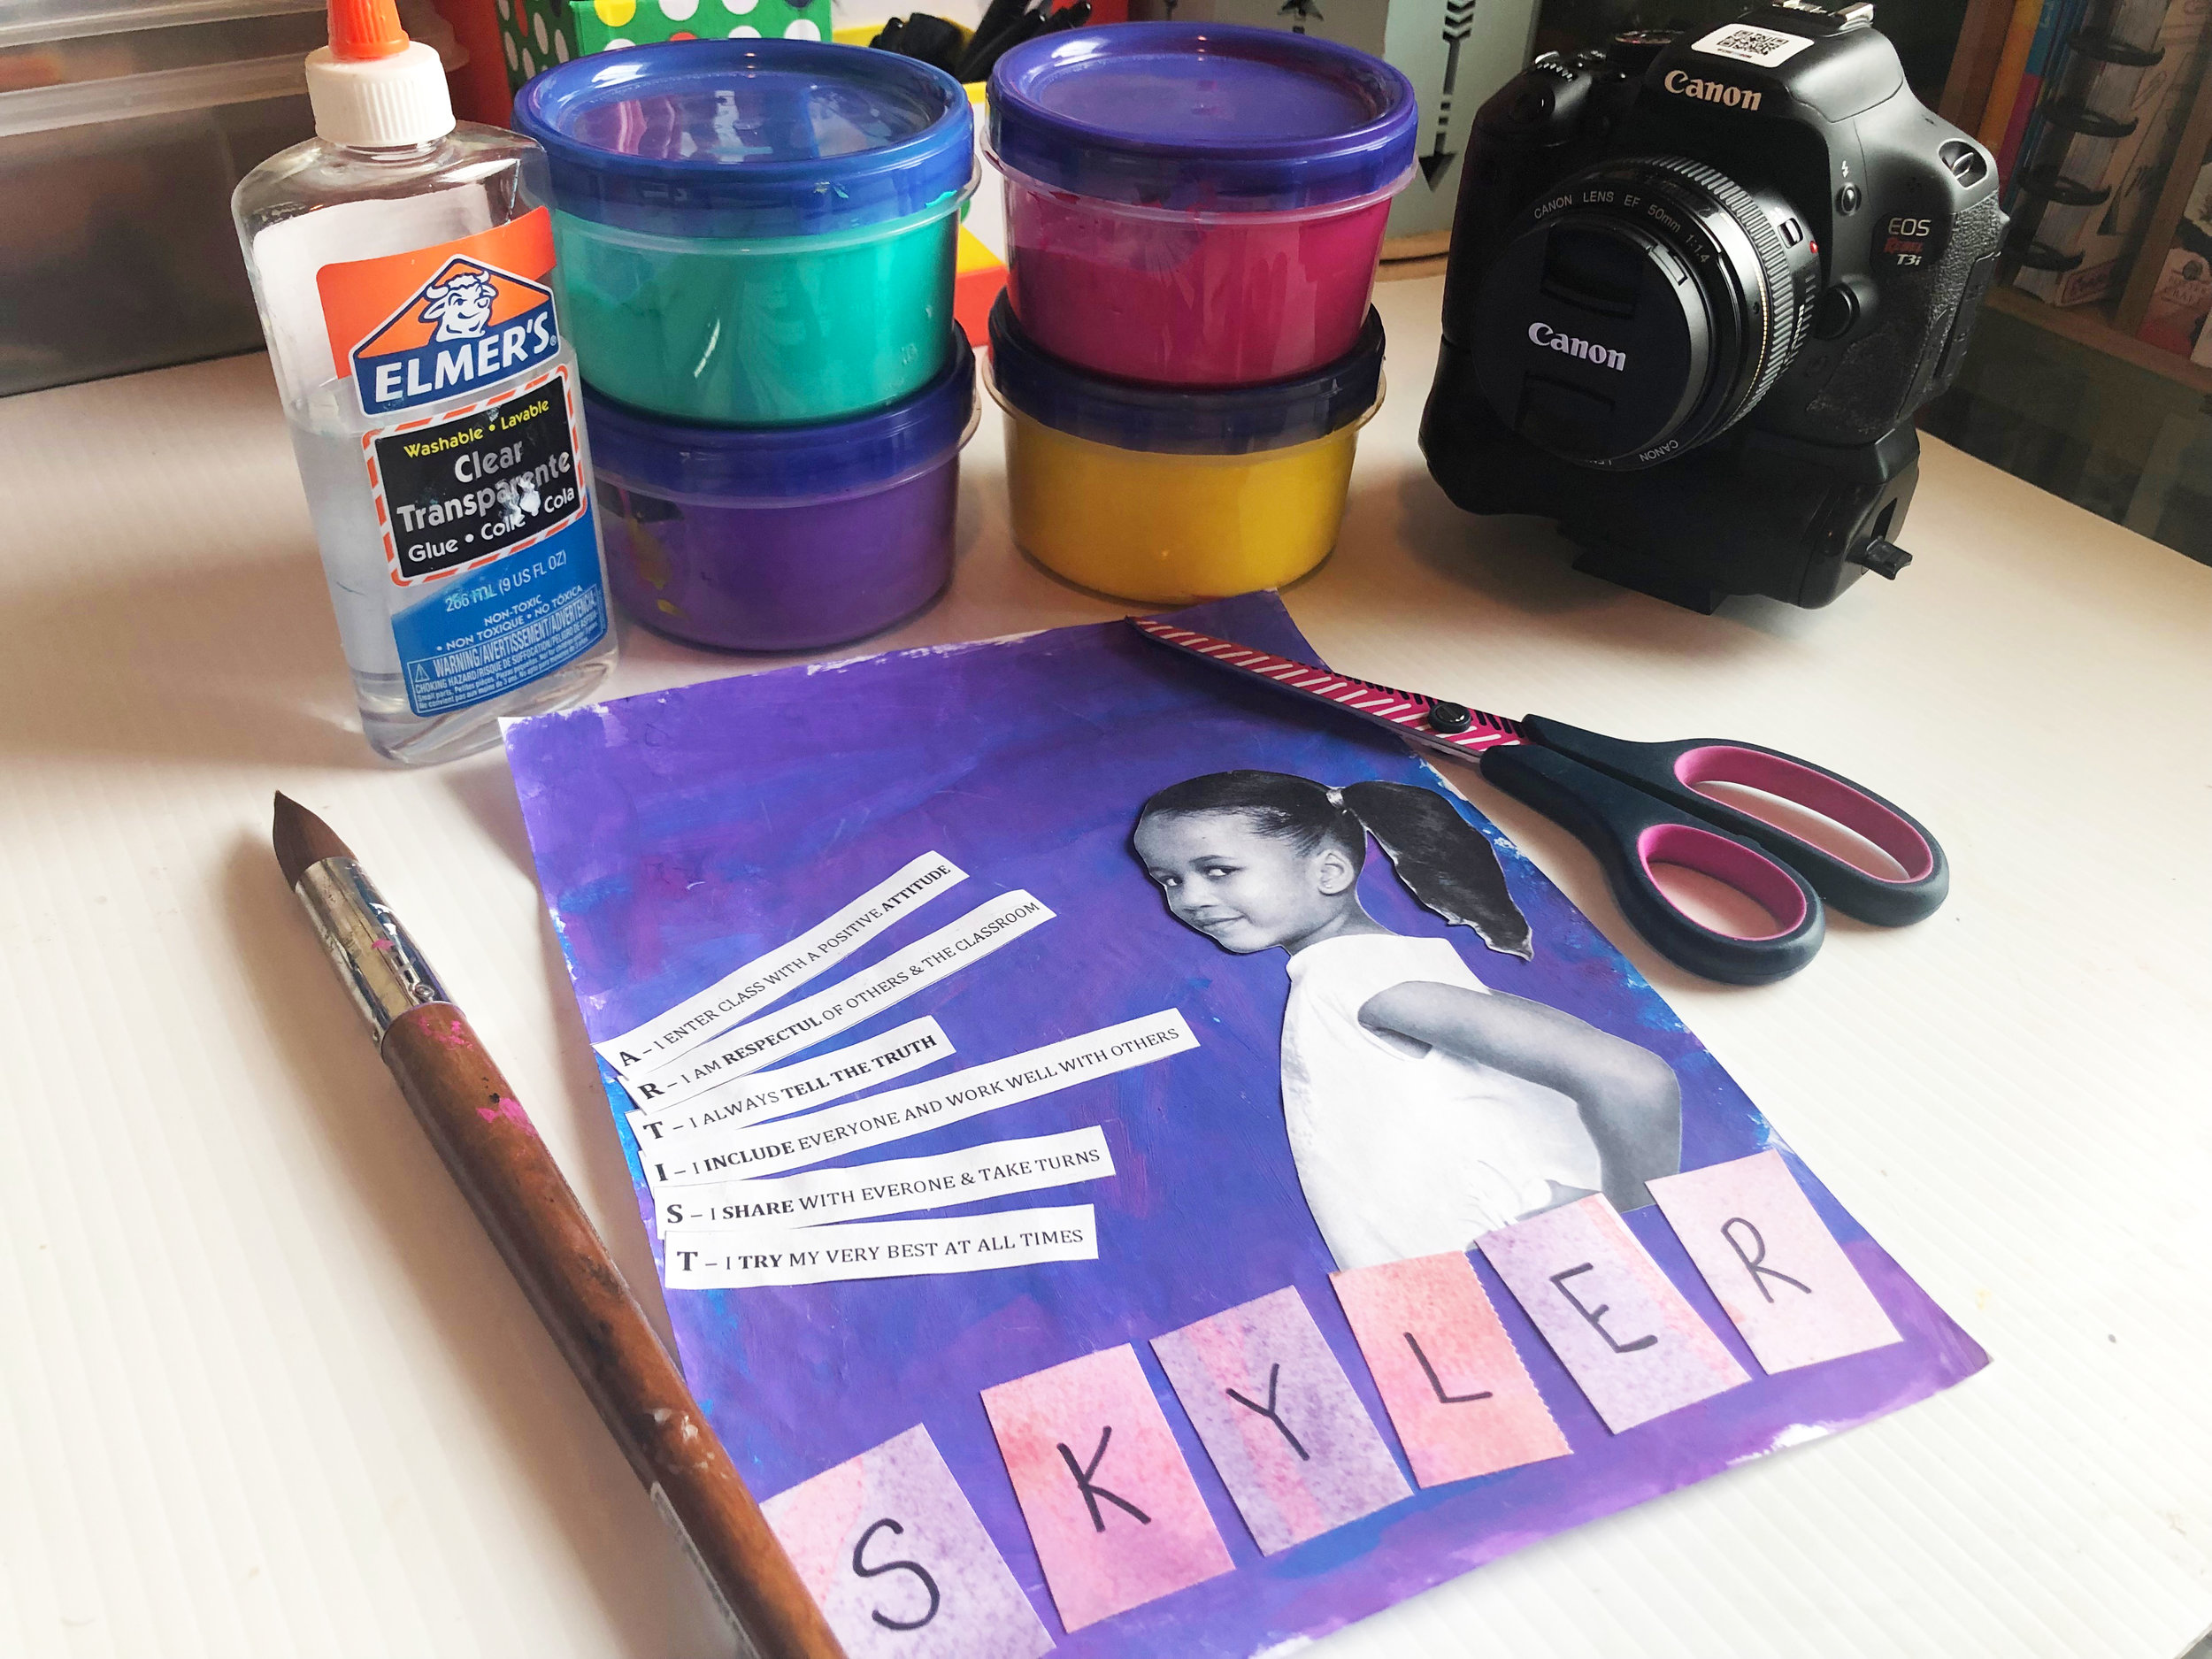
Original idea found on Pinterest // Remixed by me and my daughter, Skyler :)
This year I’m working to prepare more art lessons that help my students become great artists on the inside as well as on the outside. Our first week of school will be mixed with a few classroom rules, some glue and a whole lot of paint! I plan on going over what I believe to be the makings of a great artist while allowing the students to be the little creatives that they are!
GOT YOUR MATERIALS?
8.5 x 11 White Paper (regular or card stock)
Patterned Paper
Various Colors of Paint
Paintbrushes
Glue (stick or liquid works)
Camera (camera phone works)
Scissors
Black Marker
Classroom Rules
LET’S DO THIS!
STEP ONE
I first created my rules using the word “ARTIST”. Here’s what I came up with, but please feel free to use whatever works for your classroom.
A - I enter the class with a positive ATTITUDE
R - I am RESPECTFUL of others & the classroom
T - I always TELL THE TRUTH
I - I INCLUDE everyone & work well with others
S - I SHARE with everyone & take turns
T - I TRY my very best at all times
To save on time, I printed and cut the strips out myself at home.
STEP TWO
To start the project with your students, go over your class rules as well as the project details. I’ll be using the example I created with Skyler to go over everything. Afterwards you’re ready to start the fun part, painting! Have the students paint their backgrounds with whatever colors they wish. Skyler chose to use two colors only but they can use as many colors as they want.
STEP THREE
As the students are painting pull them one by one to take their picture. You can use a professional camera or the camera from your phone as long as the resolution is pretty good (about 300 dpi).
STEP FOUR
Place the students artwork on your drying racks or in a safe place to dry. If you’re using regular paper the ends may roll up. If that’s the case, once they’re dry you can take something heavy to place on top of the papers to flatten out the edges. The students will complete the project during their next class.
STEP five
Print your student’s pictures. I will print out my student’s pics at home. If you are doing this project with all of your classes you may have to cut out the pictures for your pre-k and kindergarteners. Otherwise you can let your students cut out their own pictures.
STEP SIX
Have the students to glue their pictures as well as the strips of rules onto the paper. They can place them wherever they like, but make sure they place the rules in order so that it spells the word ARTIST.
STEP SEVEN
Pass out the patterned paper and have the students pick their favorite sheet to write out their name using the black marker. They can then cut them into little squares and paste them onto their artwork.
VOILA!

Just imagine having a ton of these cuties on display!! I love self-portraits of children; their little faces are crazy adorable so I know this project is going to have me emotional once they’re all completed. Nonetheless, I hope you’re able to use this project within your classroom as fun way to connect with your students.